AWS IoT
Overview of AWS IoT
AWS (Amazon Web Service) is a cloud platform now widely used in the market, and AWS IoT (Internet of Things) supports MQTT protocol. Observing the market trend, from EasyBuilder Pro V6.00.01, Weintek has adopted AWS IoT service and integrated it with the MQTT feature released earlier. Apart from using AWS IoT as a broker in the publish-subscribe mode, users can also create Thing and Shadow offered by AWS IoT to make the most of MQTT.
This manual walks you through the steps to host MQTT server, configure EasyBuilder Pro, and create Things.
Hosting MQTT Server
AWS is a cloud platform; therefore, the settings are all configured on the web, please sign up in Amazon website before hosting an MQTT server.
- Visit Amazon Web Service website at https://aws.amazon.com
- Sign up. (left: individual account, right: business account)
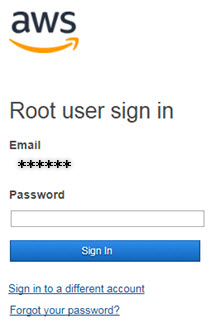
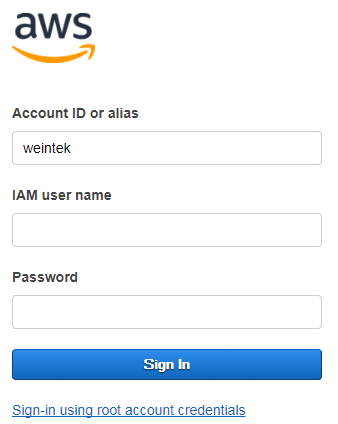
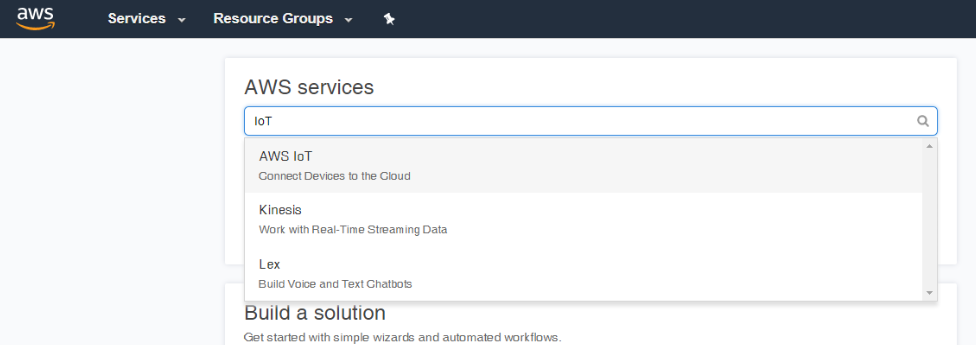
- After sign in, browse for AWS IoT.
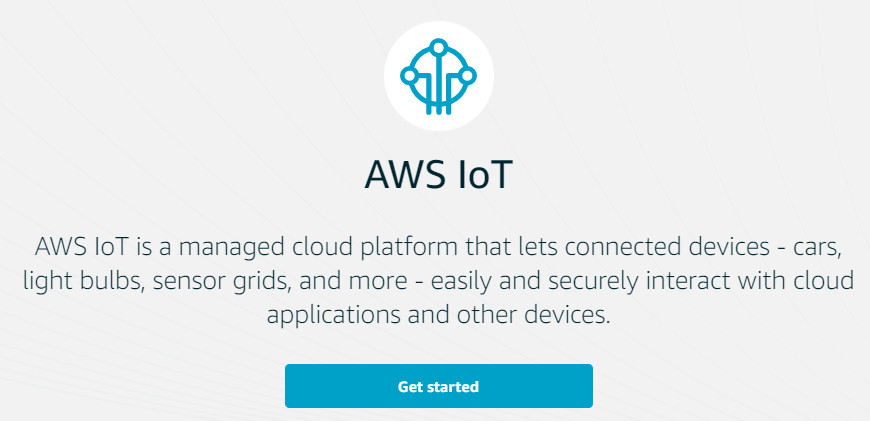
- Click [Get started] to enter user interface.
- Create a Policy and a Certificate.
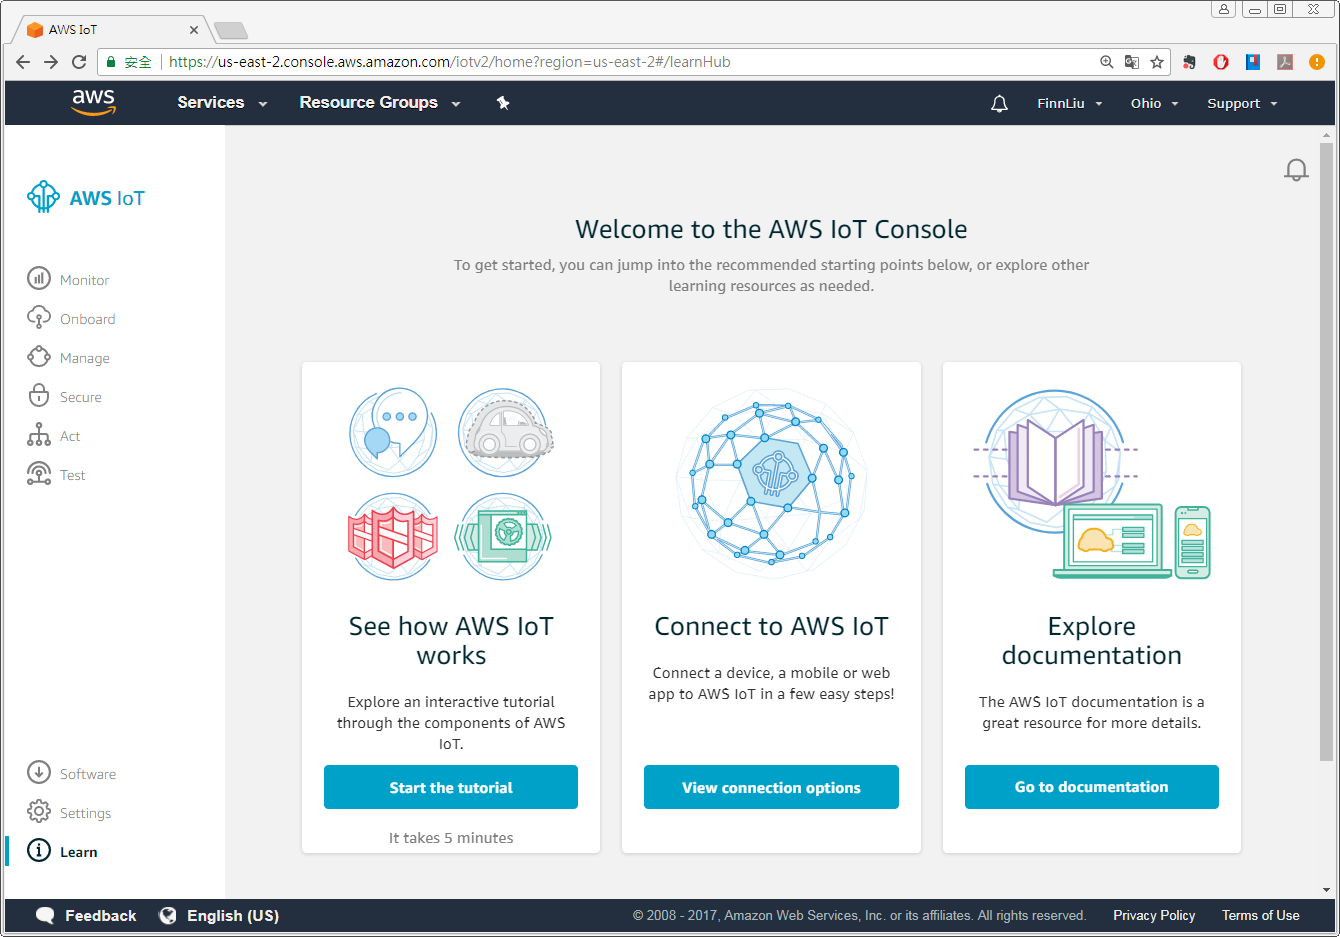
- Click [Secure] » [Policies] and then click [Create a policy].
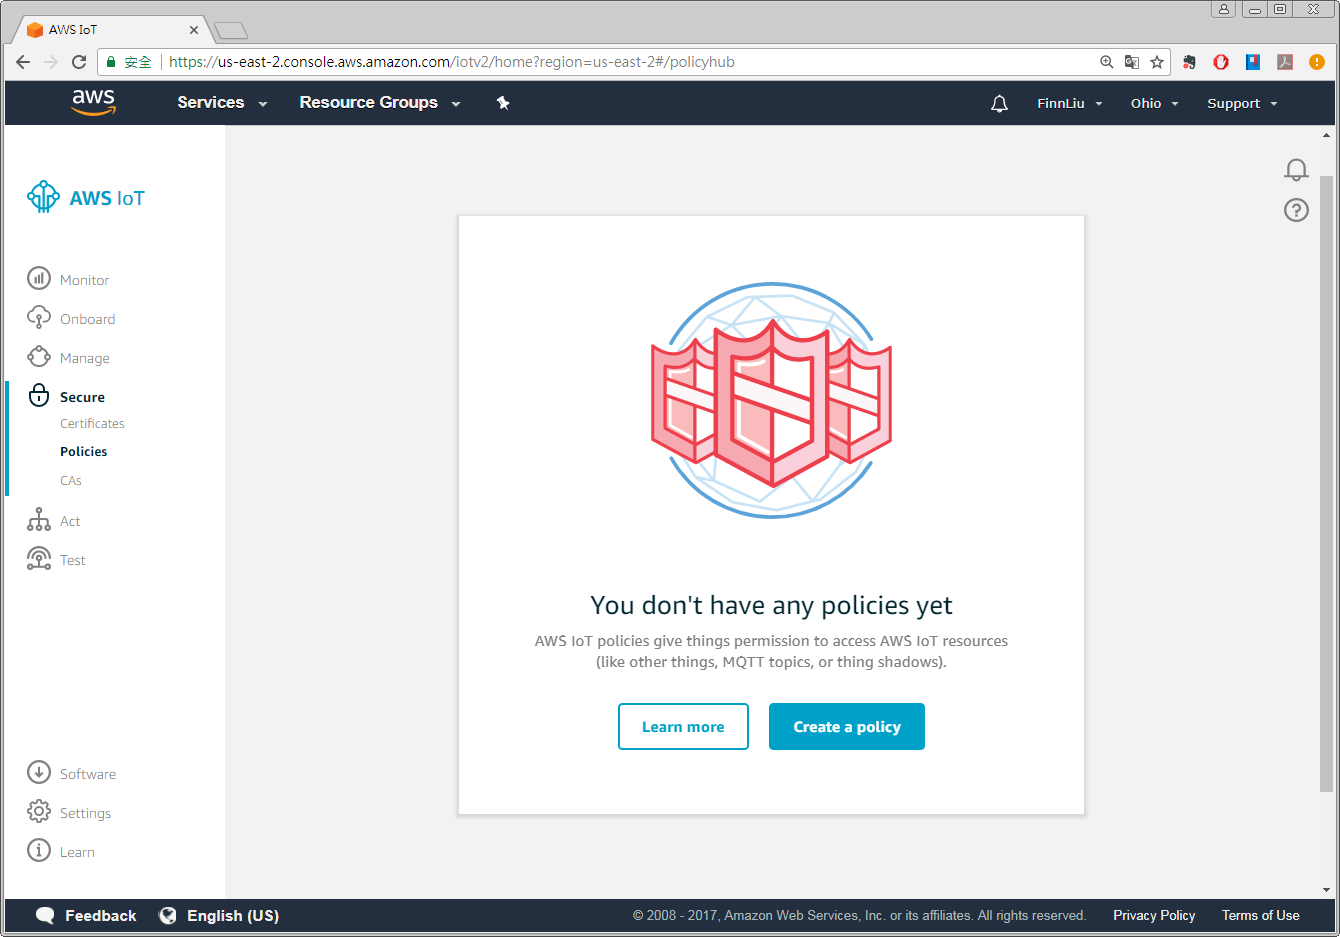
- This page is for defining actions that can be performed by a resource. You may use the settings in the screenshot below or set your own. Click [Create] when finish.
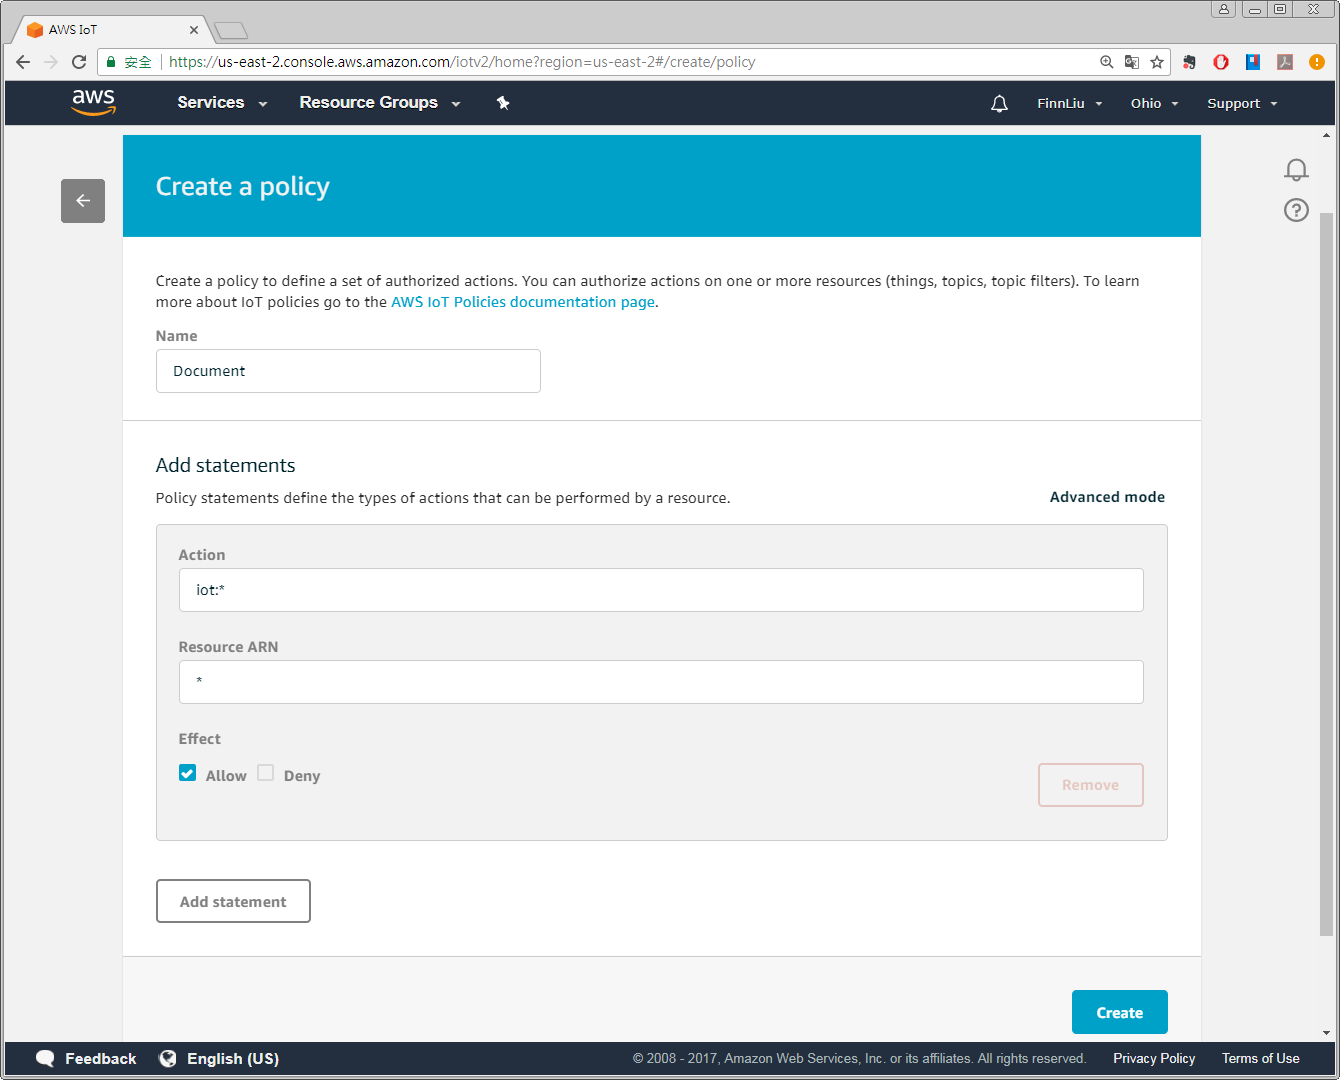
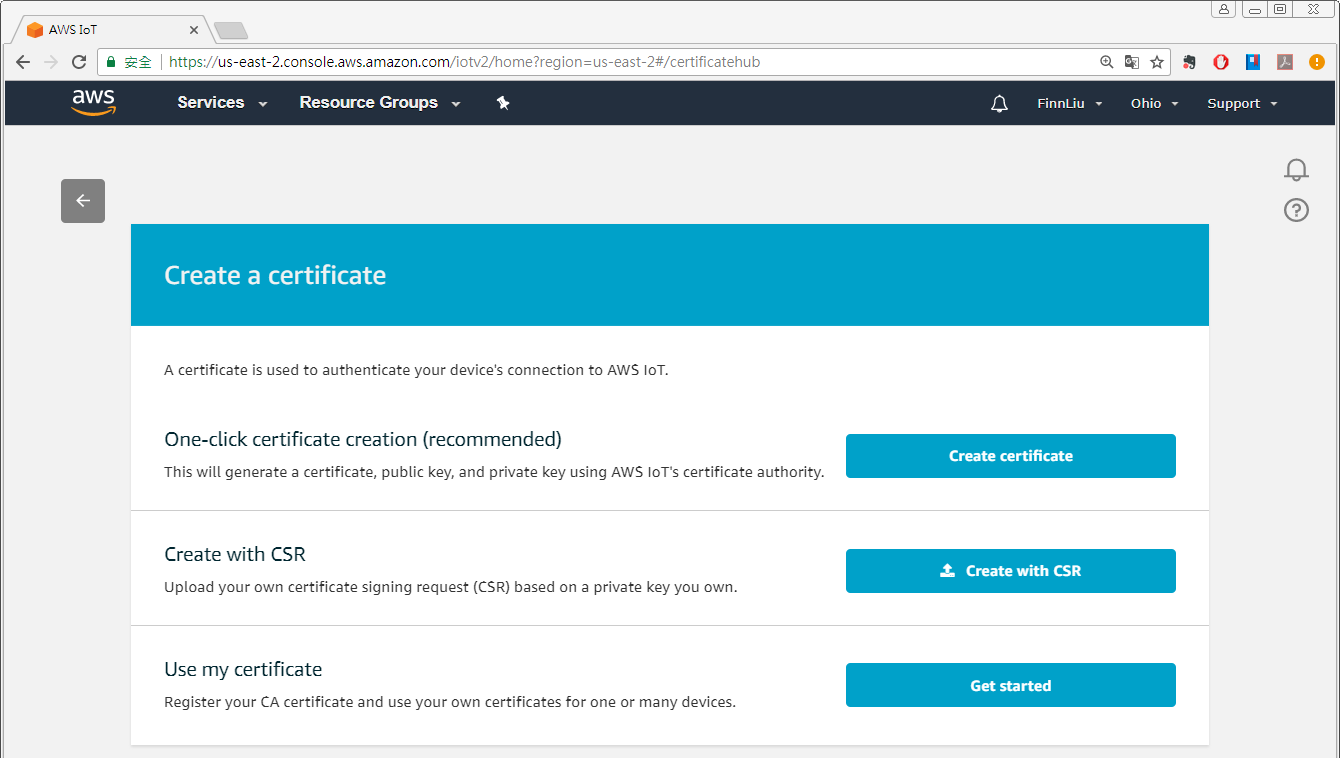
- Click [Secure] » [Certificate] and then click [Create a certificate].
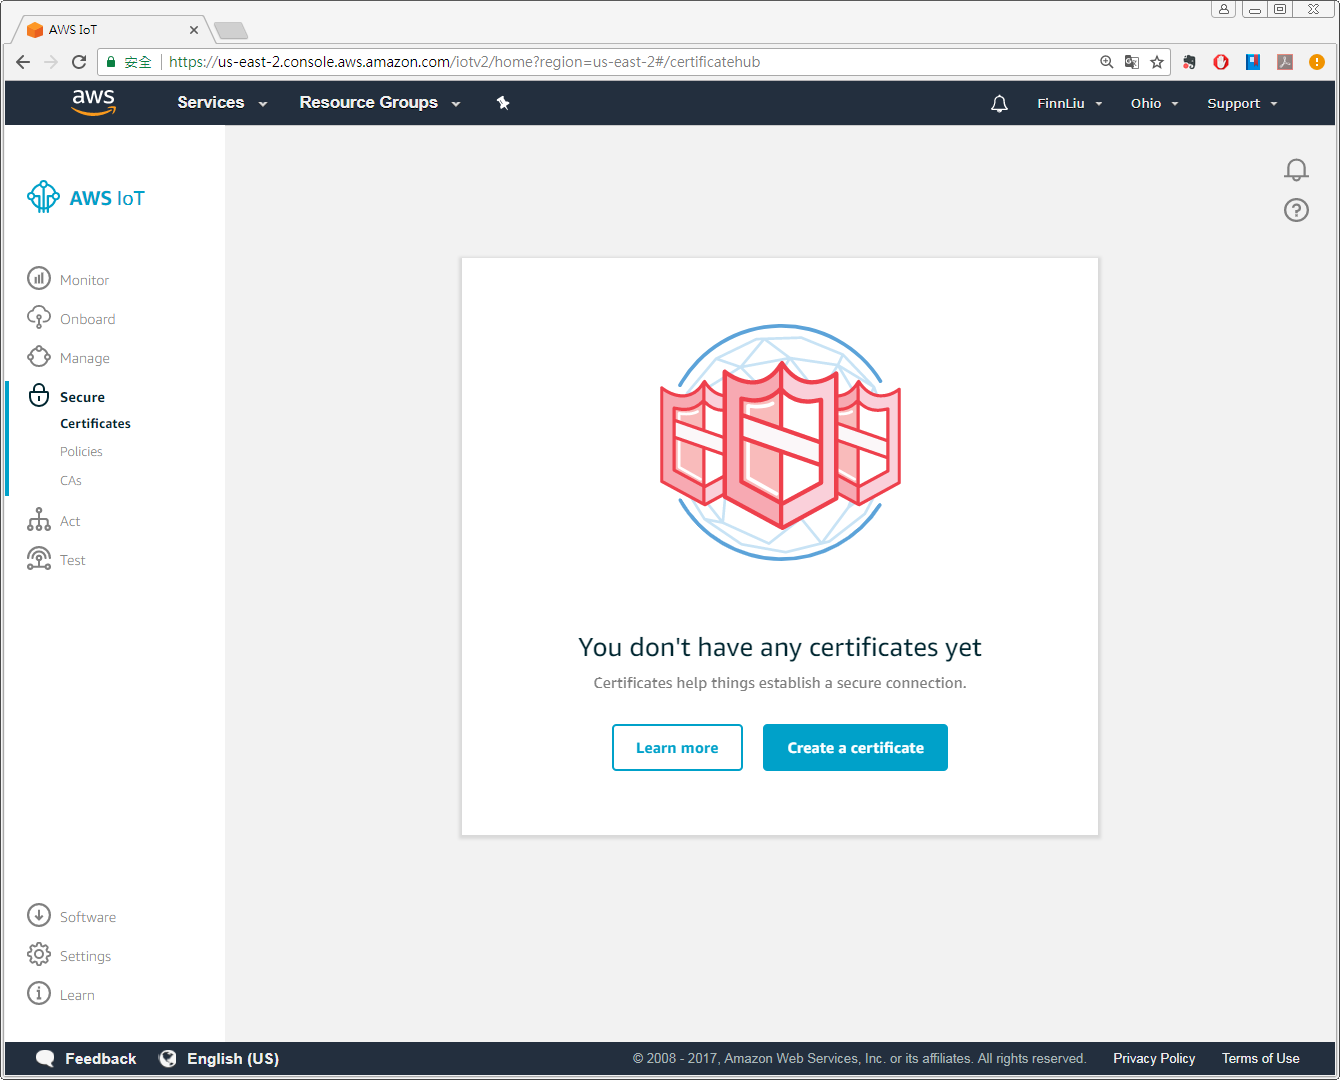
- Click [Create certificate] near [One-click certificate creation].
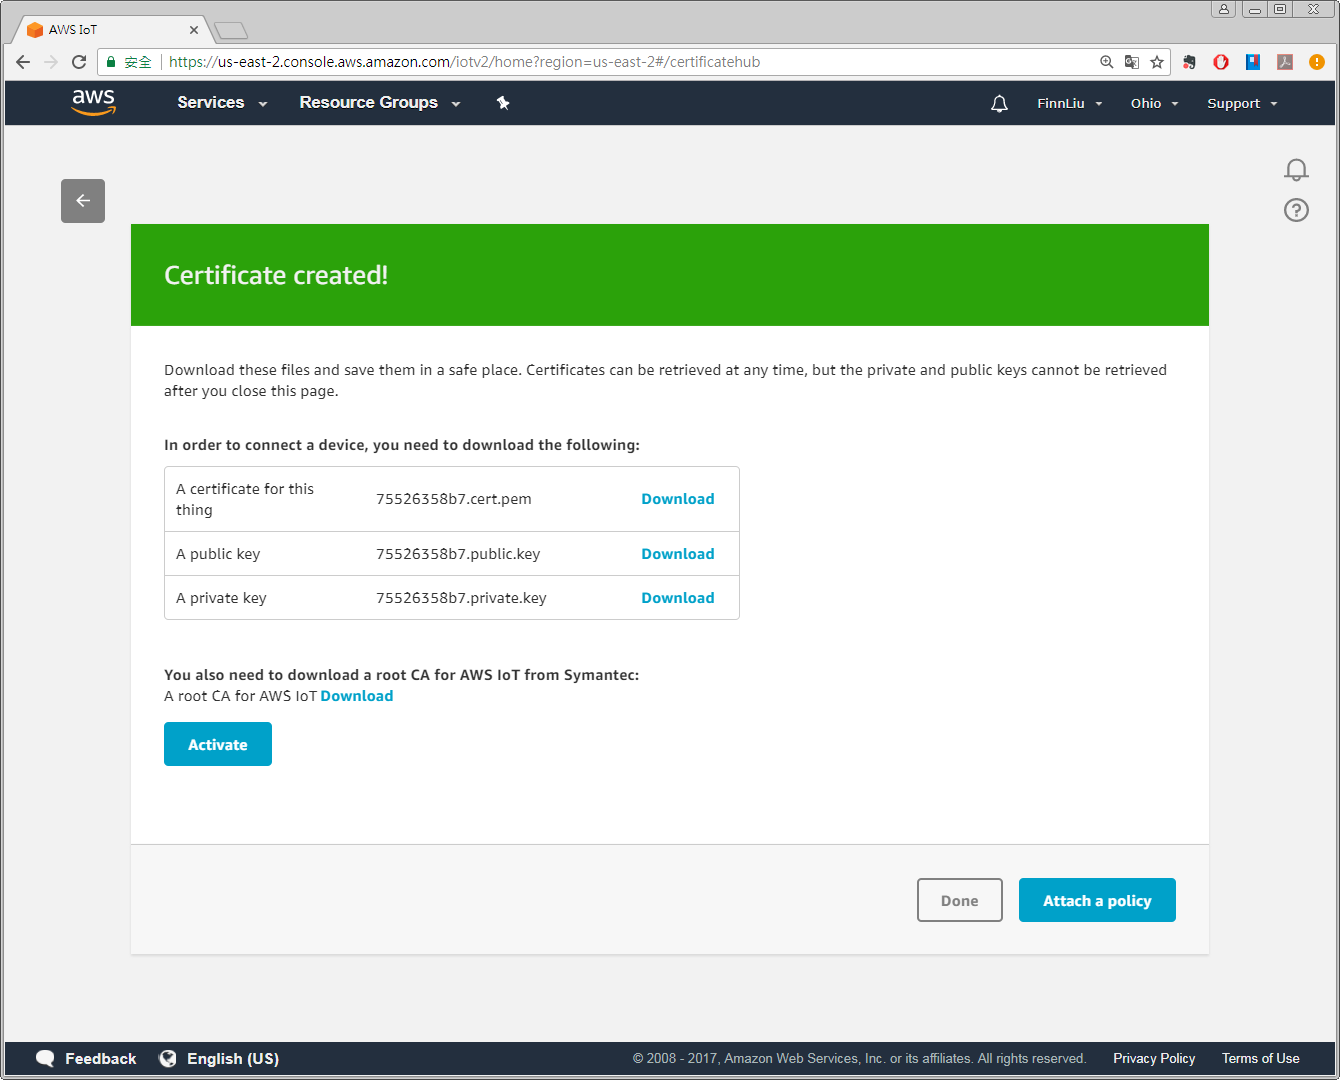
- After saving the four download files, click [Activate] » [Attach a policy].
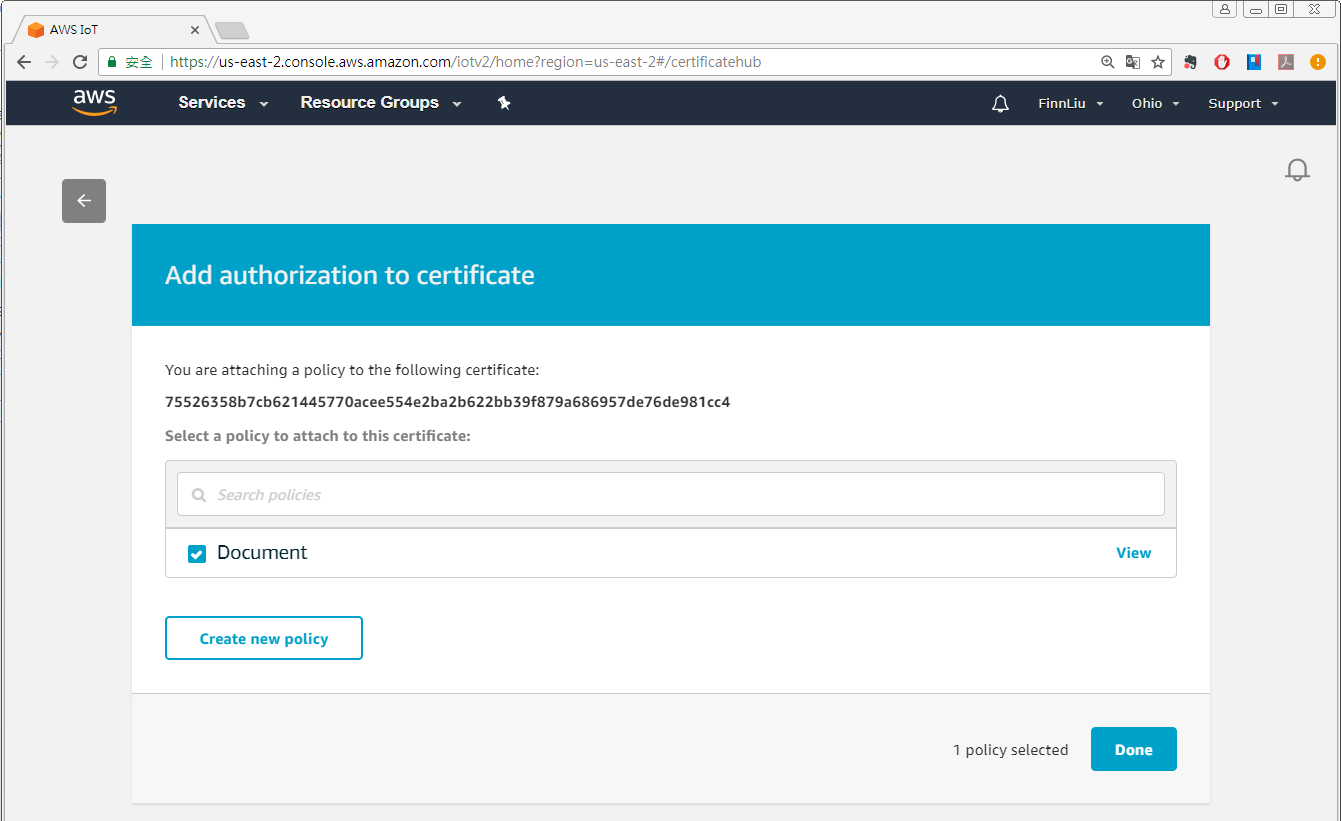
- Select the policy created in the preceding steps and then click [Done].
- Security setting is done successfully when the following box shows.
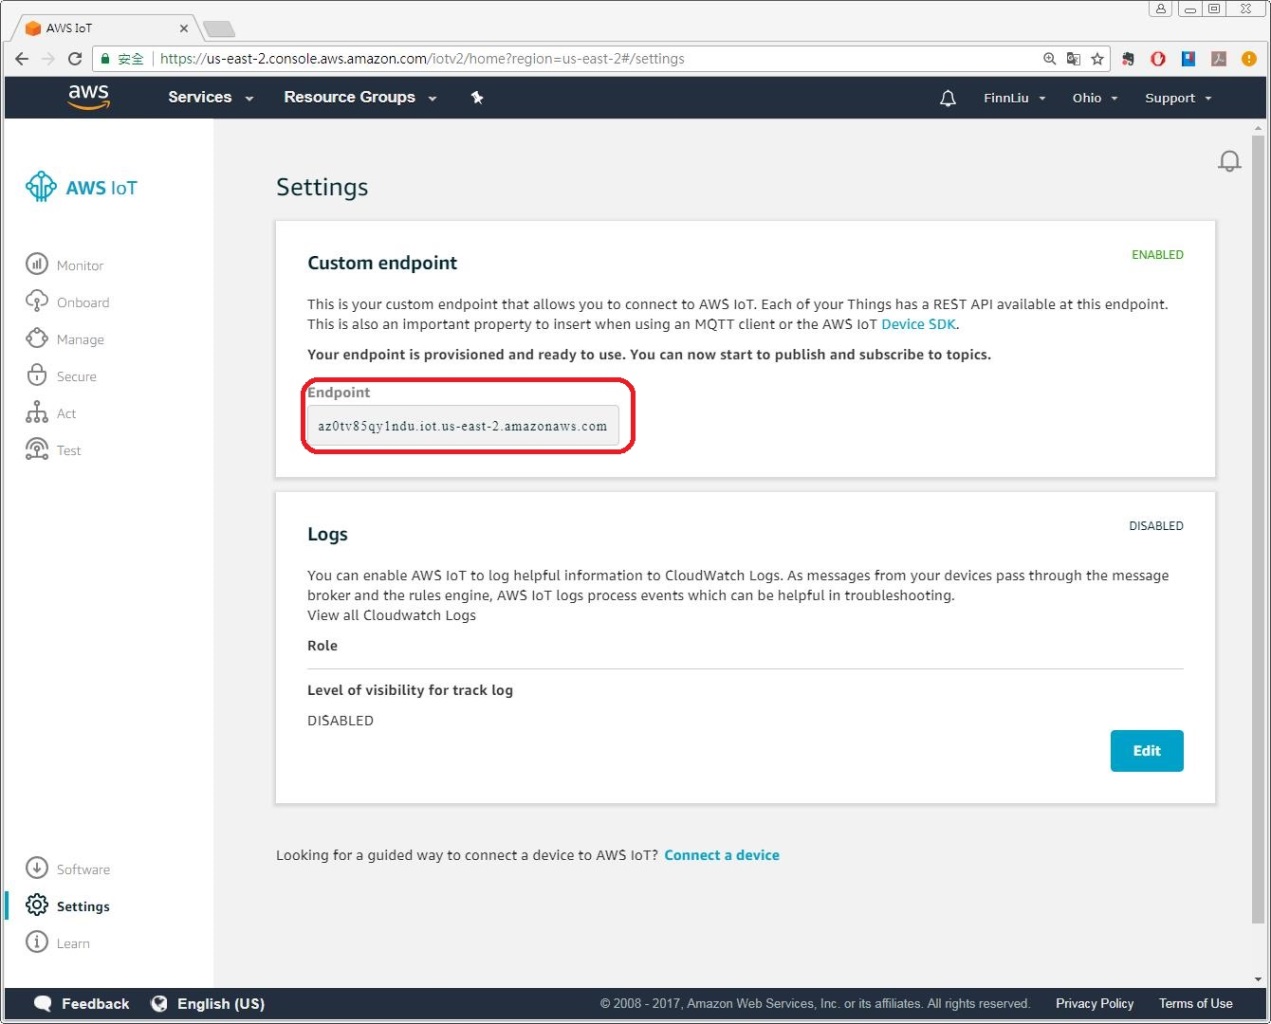
- Click [Settings], the URL marked in red frame below is the domain name of AWS IoT server, and will be used when setting MQTT in EasyBuilder Pro, please remember it.
EasyBuilder Pro Settings
After hosting an MQTT server, launch EasyBuilder Pro.
- Click [Object] » [IIoT] » [MQTT] to open MQTT settings window.

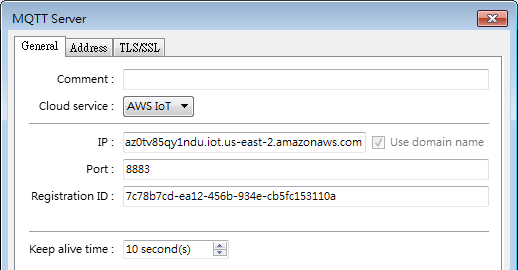
- In General tab, select [Normal] as cloud service to use publish-subscribe mode, or select [AWS IoT] to use Thing mode, and the rest will be introduced later. Use the URL obtained in Chapter 2 as domain name, and use port 8883.
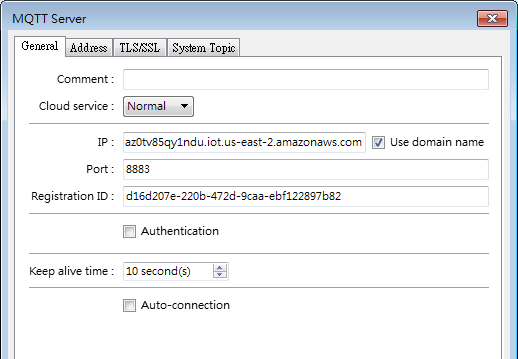
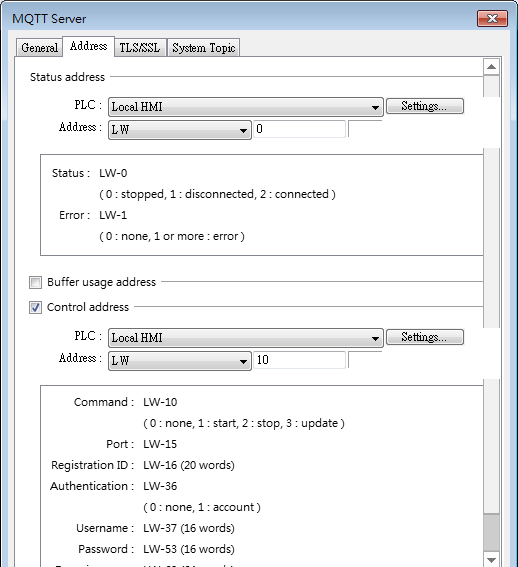
- In Address tab configure addresses.
- In TLS/SSL tab, import the file generated when creating the certificate.
>Server verification, CA certificate: Import a .pem file.
Client verification, Certificate: Import a .crt file. (certificate.pem.crt)
Client verification, Private key: Import a .key file (private.pem.key)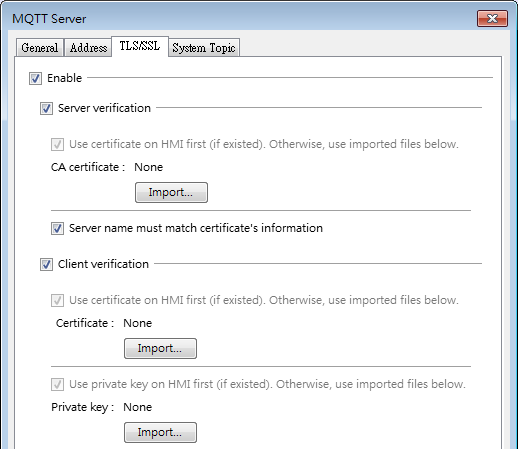
- System topic includes Topic List and Connection State that HMI will automatically send once it connects to server.
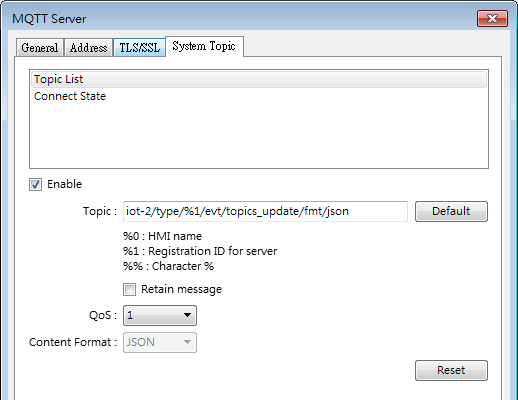
- Restrictions of using AWS IoT as MQTT server:
- Only QoS 0 and QoS 1 are available.
- Retain message is not supported.
- The maximum number of layers is 8.
- Please see EasyBuilder Pro user manual for more information on publish / subscribe setting.
Thing and Shadow
With AWS IoT, Publisher->Broker-> Subscribe is no longer the only path that data is accessed over MQTT. By introducing Thing Shadow service, a Thing (a device, app…etc) can interact with cloud applications and other devices connected to AWS IoT. A Shadow can be maintained for each Thing connected to AWS IoT. The Shadow can be used to get/set the state of a Thing over MQTT, regardless of whether the Thing is connected to the Internet.
This chapter explains configuration of AWS IoT and EasyBuilder Pro.
AWS IoT
- Click [Manage] » [Things] » [Register a thing].
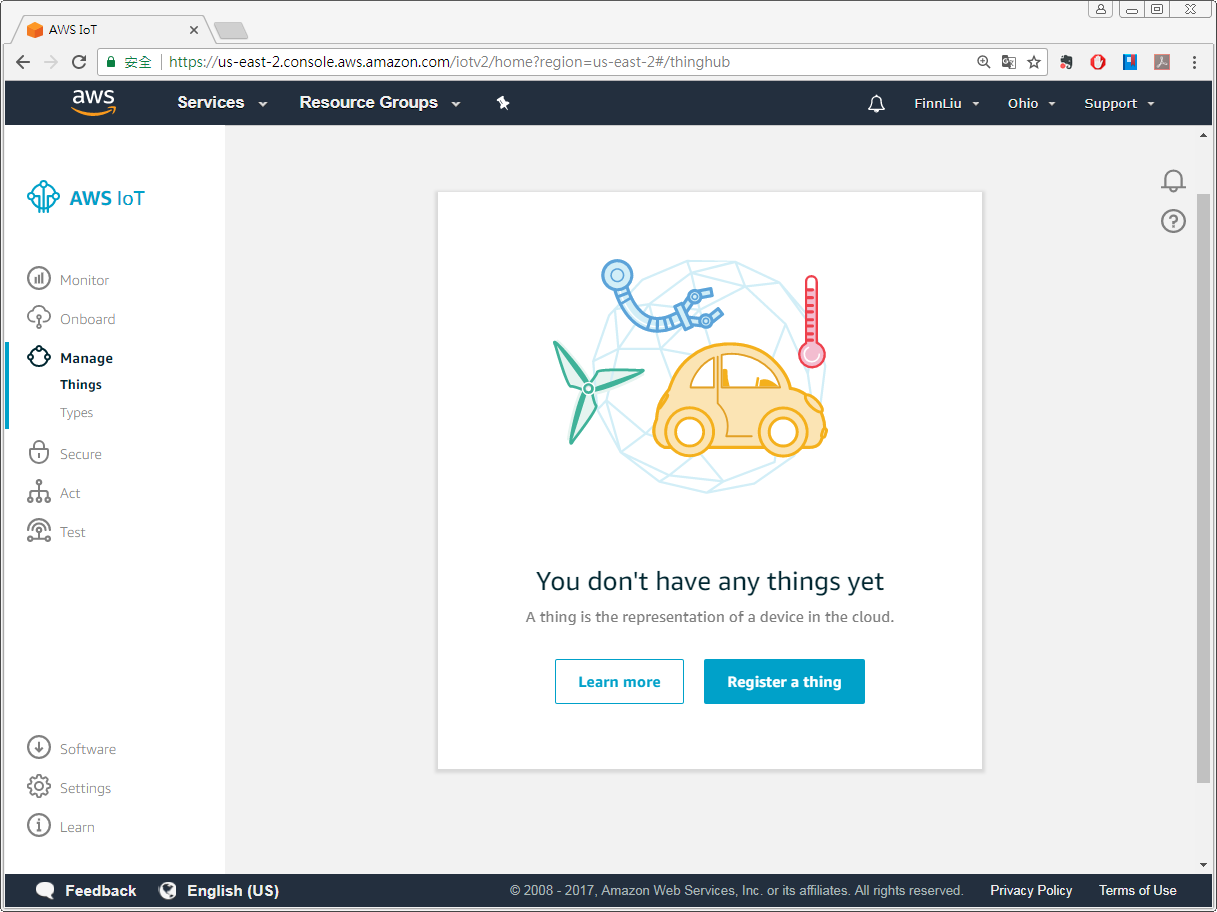
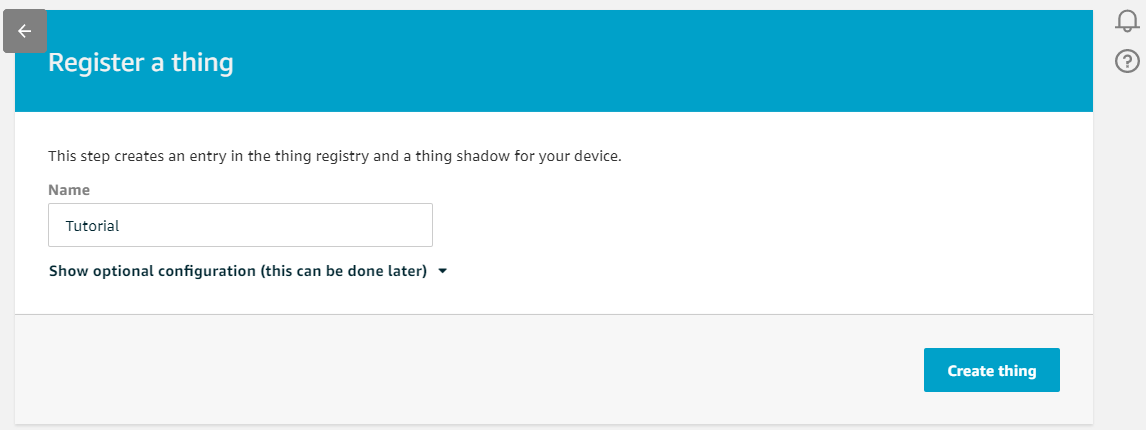
- Enter the name of the Thing.
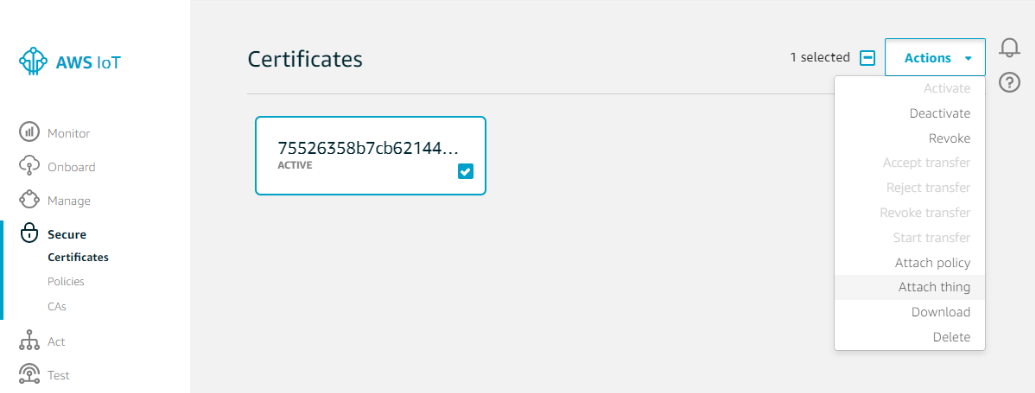
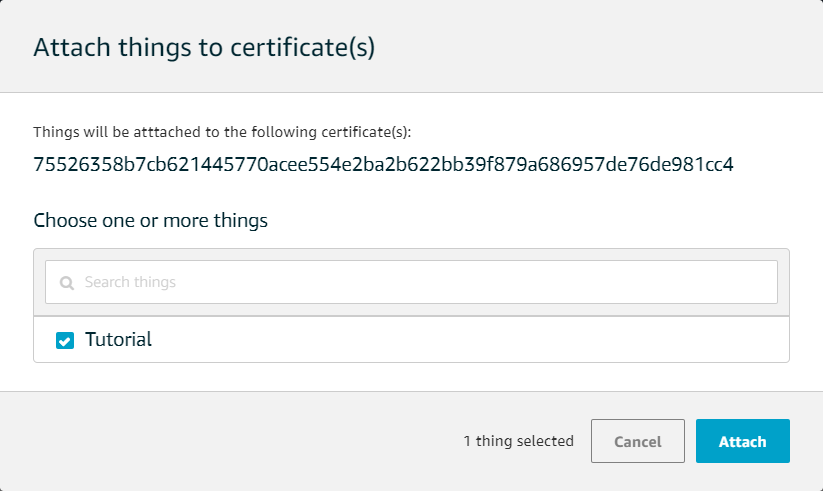
- Select the certificate with which the Thing is attached to.
- Click [Attach] to finish.
EasyBuilder Pro
- Select AWS IoT as cloud service in MQTT Server settings window, and follow the settings in Chapter 3 in this manual.
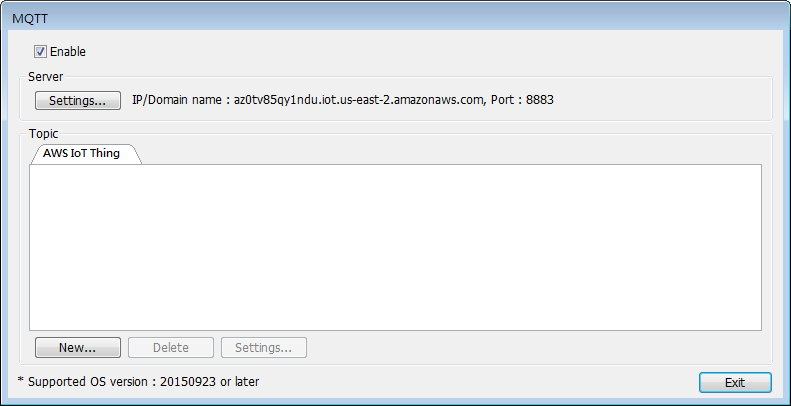
- Click new to add a device.
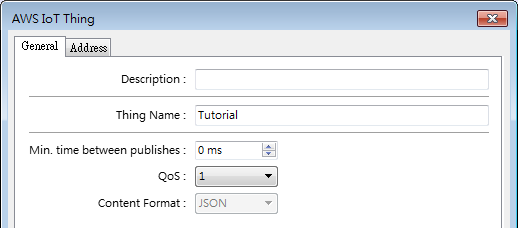
- Enter Thing Name and set minimal time between publishes. Only Qos 0 and 1 are available.
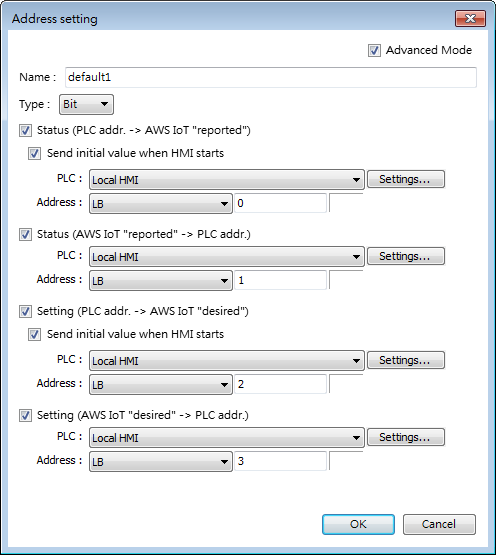
- Go to Address tab and set the addresses for reported status (LB-0) / desired setting (LB-1). ->, <-> stands for the direction in which data is transmitted.
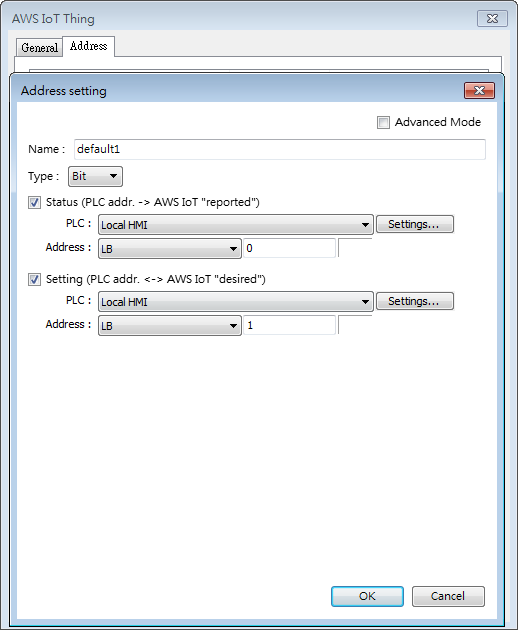
- In Advanced Mode settings dialog box, Status (reported) and Setting (desired) can use different addresses, and data is transmitted to/from AWS IoT/device.
References
EasyBuilder Pro User Manual Chapter 42 IIoT
How does AWS IoT platform work: https://aws.amazon.com/tw/iot-platform/how-it-works/