Getting Started
To get started, follow the steps below:
- Install EasyAccess 2.0 on PC/Android/iOS (see below)
- The HMI must be activated.
See Activate an HMI, or PC Activator - The HMI must be registered in a Domain.
See Add an HMI to a Domain, Manage the Domain, or PC Activator - The HMI must be programmed to go online.
See Connect the HMI to EasyAccess 2.0 - The user must have a user account which is associated with an HMI.
See Manage the Domain - EasyAccess 2.0 must be installed.
See EasyAccess 2.0 PC client Program
Installation
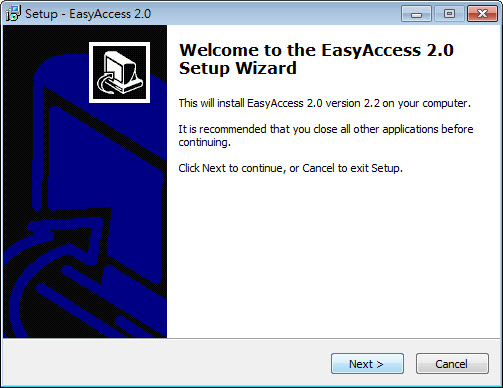
Download the setup.exe file from EasyAccess 2.0 homepage and open it. Select the language for the installation process, and then click [Next]. If there is a previous version of EasyAccess 2.0 on the PC, please remove it before installation.
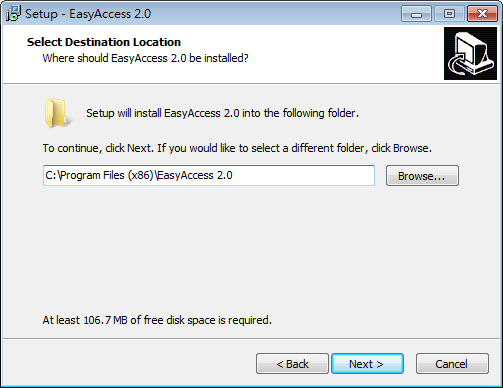
Select a folder for EasyAccess 2.0 installation, or use the default folder. Click [Next].
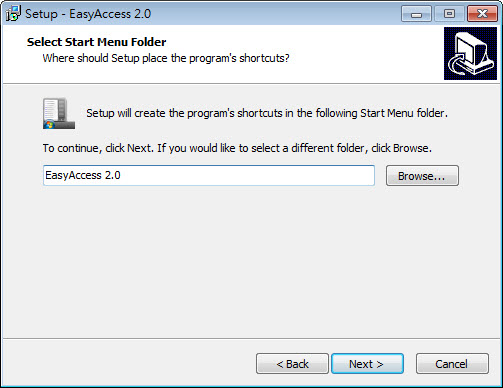
Select a start menu folder, or use the default folder. Click [Next].
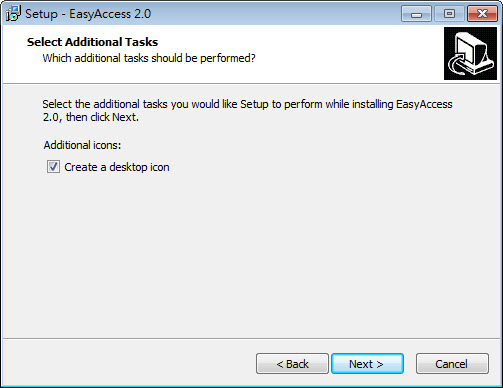
Select additional tasks, for example: [Create a desktop icon]. Click [Next].
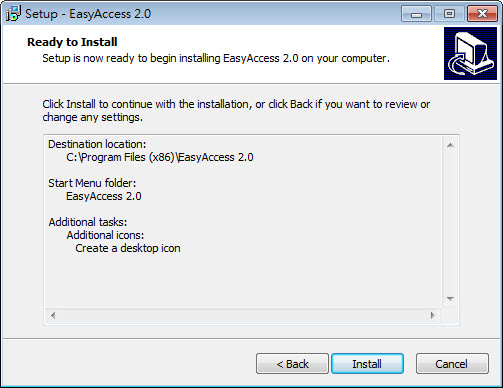
Confirm all setting. To change the setting, click [Back]. To start installation, click [Install].
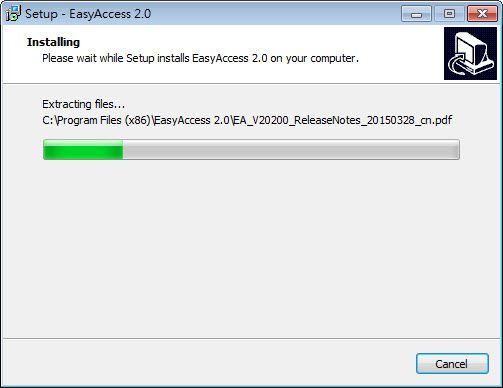
Installation progress.
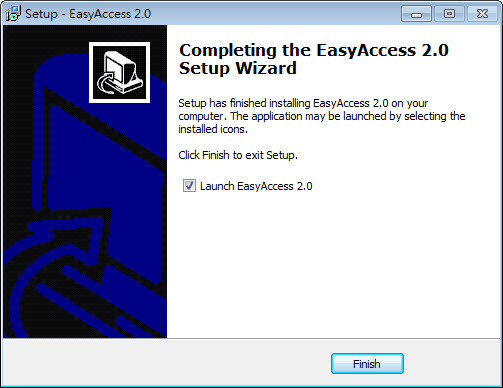
Click [Finish] to complete the installation.
Here is a list of notable files in the installation folder:
| File name | Description |
|---|---|
| cMT Viewer | The PC application for accessing a cMT/ cMT-X HMI. |
| EasyAccess 2.0 | The main program used to establish remote connection to an HMI. |
| gui_30 | An essential component when using HMI Viewer to monitor a remote HMI. |
| PC Activator | Application for activating EasyAccess 2.0 for HMI on the network. |